Version 0.1.4.4 - Combat is almost completed. Here are some key concepts relating to the combat model:
1) Situational Awareness
Each brigade has a situational awareness level that determines its ability to detect the enemy during combat. Whenever a unit moves to a new hex, its SITA drops to a level determined by the owning nation and control of the new hex. If a unit moves into a hex belonging to the enemy and controlled by the enemy, its SITA will be much lower than if it is a friendly owned / controlled hex. This is to reflect regional familiarity and support of the locals.
Every turn a unit remains in the same hex, its SITA will increase. Dedicated recon missions will also increase SITA. When combat begins, the relative SITA of each side will determine who shoots first and is also used in the combat effectiveness calculation. Because of the high lethality of the weapons systems, the first side to fire will often gain the upper hand in an otherwise even battle.
2) Form Up Position
When units enter an enemy hex, they do not immediately engage in combat. Instead, they move to a Form Up Position or FUP. This is a position just outside direct contact with the enemy from which various operational missions can be launched. A unit in this position is considered committed to combat and will pay a penalty in movement points for withdrawing back into the cell from which it entered known as the withdrawal hex. In game terms, the unit is shown in the combat hex with a pointer showing the hex 'edge' that it occupies.
When a combat hex is clicked on, the Combat Panel appears with a blown up view of the hex along with all invading and occupying units shown in their respective positions. Occupying units do not have a specific edge but are considered to be spread around the perimeter to engage any enemy units in a FUP.
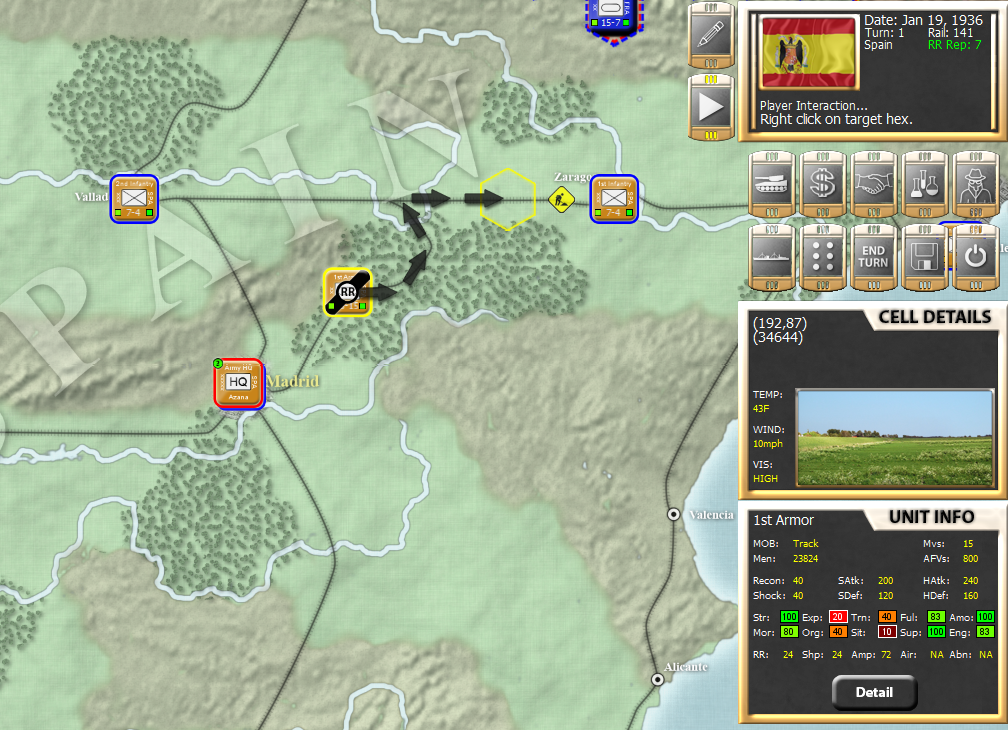
The command button is pressed and a list of all valid commands for the current hex appears. After clicking the command, you may select one or more units and then click the execute button. At that point, 1-10 rounds of combat will take place depending on user selection (set by typing keys 1-0). Each round will use approximately 25% of available units from each selected corp which are rotated to the front on a least recently used basis. The standard setting is 4 rounds per execution which will generally use every brigade in each selected corp once. However, as brigades are degraded due to lack of supplies, casualties, drop in morale or simply run out of movement points, etc, it may effect the actual number of participating brigades.
The unit details screen shows the last combat round that each brigade has engaged in and can be used to determine which units are likely to be selected next. Units whose morale drops below a certain threshold will retreat or break and immediately withdraw from combat. If either side loses all combat units from a hex, the other side will immediately take control of the hex and combat will be completed. Any leftover non combat units (usually HQ's) will be forced to perform a hasty withdrawal or captured / destroyed if there is nowhere to run.
Only 3 units may occupy a single edge at a time which allows a total of 18 units to engage in the invasion of a single hex at one time. The defending side may have up to 6 combat units and any number of non combat units. Units in a FUP may only withdraw to the hex from which they entered, this is the withdraw hex. If an enemy unit enters the withdraw hex the unit is cutoff and force to make an immediate hasty withdrawal to any available friendly controlled hex with penalties in casualties and moral. If no friendly hex is available, the unit is destroyed.
3) Strategic / Operational Commands
There are two basic types of commands: strategic and operational. Strategic commands span multiple map cells. So moving from one cell to another, patrolling a group of cells or bombing a cell would all qualify as strategic commands.
All commands executed from within the same cell are considered operational commands. Recon, assault and artillery bombardment would be examples of operational commands.
Here is a quick example of the combat model in action:
A lone Spanish militia corp is defending a small town in clear terrain against an attack by 2 French infantry corps and a French armored division. The militia corp has no artillery support, no long range weapons and is of lower morale and training than the invading forces making this a very one sided battle.
The invaders are attacking from 2 sides forcing the defending unit to split their forces in half to cover the front. Since the invaders have just entered their FUP's they have very low situational awareness so the defender gets to fire first.
However, since the attacking infantry corps each have 4 division containing an artillery brigade each the first action is a round of bombardment by the artillery. And since this is clear terrain and non urban infrastructure, the armored division is able to attack at long range allowing 2 rounds (artillery barrage and long range high caliber direct fire) of attack before the militia unit is able to respond.
Once these rounds have completed, the attacking units close the gap and engage the militia at close range. At this point the militia unit is able to fire first but its far too little too late and the responding short range fire by the attacking units aided by the shock value of the armor overwhelms and breaks the militia unit which immediately executes a hasty retreat. This hasty retreat results in more casualties, some captured units and a complete collapse of morale.
The armored unit which still has plenty of movement points can continue to pursue this retreating unit or engage in other operations elsewhere.
Here is the final battle summary:
You can also scroll down through the detail to get a blow by blow description of the battle.


.png)